
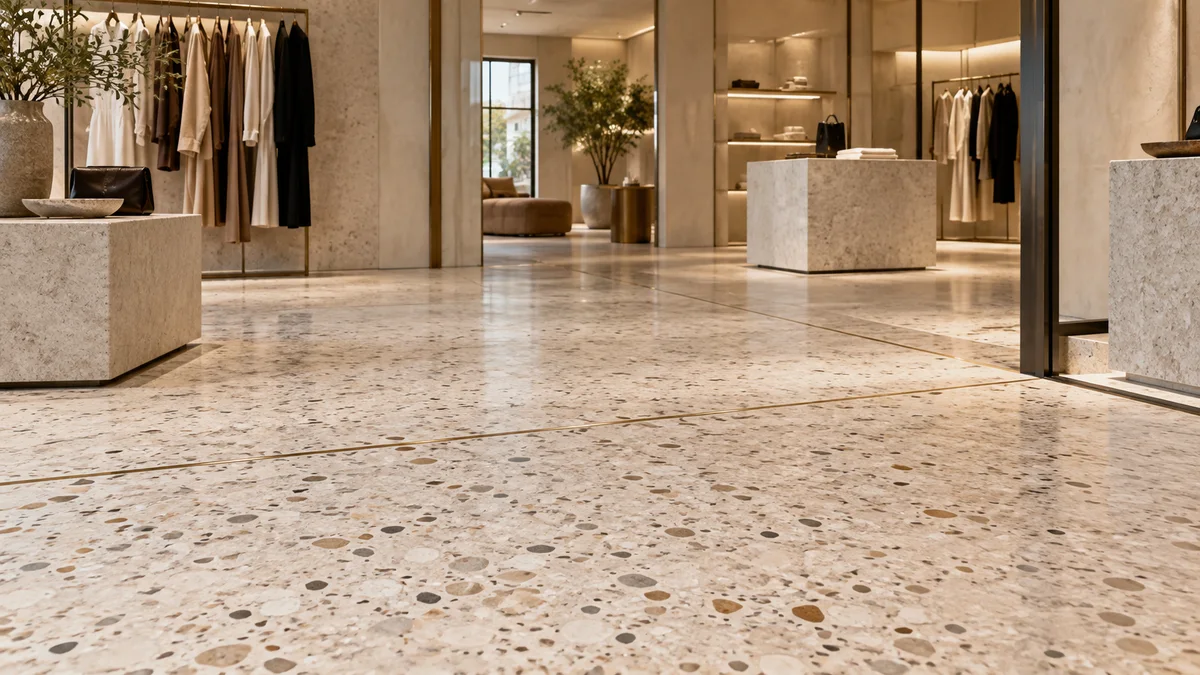
Commercial terrazzo flooring can give a shop a durable, continuous visual base, but the aggregate mix is only one part of the decision. Retail introduces concentrated footfall, movable fixtures, tight door thresholds, late service changes and a constant need for the floor to look composed under strong lighting.
Draw those conditions into the floor plan before approving the sample. The terrazzo layout should follow how the store works.
Start with the store plan, not the chip palette
Mark the entrance, main customer path, queue, fitting rooms, cash desk, stock access and any heavy display positions. Add every floor box, service penetration and change of level. These points shape the poured areas and the places most likely to need future access.
Then identify what is fixed and what will move during the life of the fit-out. A display wall may stay for years. A central plinth could be replaced next season. The floor beneath both should still make sense.
This week, Shop Arabia is bringing retail and fit-out teams to Dubai from 22 to 24 September. Its current programme is a useful reminder that stores keep changing as layouts, checkout systems and in-store technology evolve. A terrazzo brief should leave room for that evolution rather than freezing the first merchandising plan into the floor.
Decide where the terrazzo field begins and ends
The cleanest retail floors have deliberate boundaries. On the drawing, settle:
- the transition at the shopfront and mall floor;
- thresholds at stock rooms and staff areas;
- floor boxes and other penetrations;
- column bases, curved walls and built-in joinery;
- divider-strip positions and changes in aggregate field;
- movement joints that must be carried through the finish;
- stairs, ramps and accessible routes.
DecoPaint's terrazzo installation sequence uses divider strips to mark pour zones before the aggregate and binder are placed. Those strips can be a quiet technical line or part of the graphic layout. Either way, they need to relate to the architecture.
Do not let a strip land a few centimetres away from a joinery edge or cut awkwardly through the entrance. Overlay the floor drawing with the reflected ceiling and fixture plans before signing it off.
Specify the surface under retail lighting
Retail lighting reveals more than a sample viewed flat on a table. Grazing light can show slight lippage, polish variation, fine scratches and residue from cleaning. A pale aggregate may look warmer under display lighting than it does in daylight near the shopfront.
Review a full sample vertically and horizontally, even though the final use is a floor. Tilting it makes the polish and aggregate exposure easier to read. Place merchandise materials beside it, especially metals, stone and timber that will repeat throughout the store.
The approved sample should record:
| Item | What to approve |
|---|---|
| Binder | Cementitious or epoxy system proposed for the project |
| Aggregate | Size, colour range and distribution |
| Divider strip | Material, width and layout intent |
| Finish | Aggregate exposure and final sheen |
| Sealer | Product within the proposed system and its care requirements |
| Reference | Sample ID, date and sign-off parties |
Plan for cleaning and visible wear
Ask the operator how the floor will be cleaned before selecting sheen. A finish that looks crisp in a presentation can be a poor match for the available equipment or the store's cleaning window.
Entrance zones deserve special attention because dust and grit arrive there first. Mats, shopfront detailing and cleaning access should be designed with the floor, not added after opening. High-contact areas around queues and displays may also develop a different wear pattern from the quieter perimeter.
The facilities team needs the approved care method, stain-response steps and products that should not be used. The handover record should also identify the installed mix and retain enough information to reproduce a close repair later. A hand-mixed decorative floor may show a repair, so the project team should decide where a planned boundary makes future work less conspicuous.
Coordinate the floor with fit-out sequencing
Terrazzo is poured and then ground and polished. That process needs clear access and protection from other trades. Dust-sensitive joinery, glass, stock systems and final decoration should be sequenced around the flooring method agreed for the site.
The Flowcrete commercial resin terrazzo guide treats the floor as a complete system rather than a decorative top layer. The same discipline applies to a boutique or showroom. Substrate, divider layout, binder, aggregate, grinding, sealer and maintenance all belong in the brief.
Set a hold point after substrate preparation and another after the first grind. Record who approves each stage. If the opening date is fixed, the flooring sequence needs to be agreed before joinery and merchandising dates become immovable.
DecoPaint applicator note
DecoPaint publishes terrazzo for showrooms, lobbies and restaurant floors. For retail, bring the fixture plan to the sample review. It lets the applicator comment on awkward penetrations, hidden floor boxes and divider-strip locations while the drawing can still change.
Ask for a single coordinated plan that shows the terrazzo field, thresholds, joints and all fixed service points. A finish schedule without that drawing leaves the most visible decisions to be made on site.
What to send with a retail terrazzo enquiry
Send the dimensioned floor plan, shopfront detail, fixture layout, floor-box locations, reflected ceiling plan, adjoining finish schedule and proposed cleaning method. Note any mall requirements and the approved working hours. Add photographs of the handed-over substrate if the unit already exists.
Then book a terrazzo sample review in the unit or under lighting that closely matches it. The sample should be approved together with the floor layout, because the aggregate and the lines around it are one design decision.