
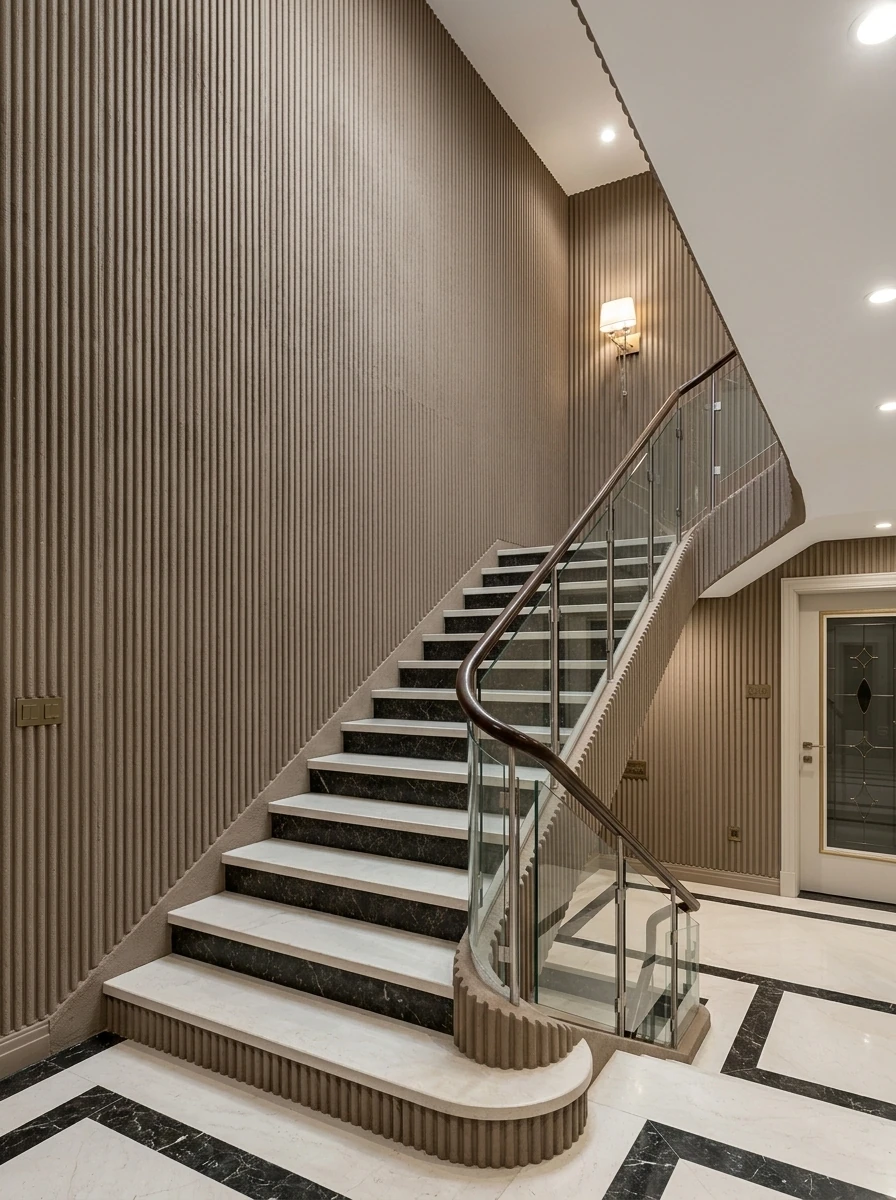
A fluted wall looks simple until a groove meets a door frame or socket. Before work starts, draw the pattern across the full wall, including where it begins and ends. That makes it easier to spot a narrow strip at one edge or an awkward junction beside a cabinet.
A small sample will help you choose the texture. The wall elevation, a drawing of the wall viewed straight on, shows where the centre line should sit, whether the outer grooves are full width and what happens at corners.
Choose where the pattern starts
Use a feature in the room as your reference. That could be the centre of the bed, a reception desk, a fireplace or a pair of doors. Work outwards from it and check the space left at both ends of the wall.
Include skirting, cornices and shadow gaps in the drawing, as well as ceiling services and changes in wall depth. You need to see how the whole pattern fits around the room's existing lines before deciding on the spacing.
Account for sockets and cabinets
Mark every switch, socket, thermostat, access panel and wall light. Decide whether each one will line up with a groove, sit in a flat band or be separated from the pattern by a panel. Door reveals and built-in cabinets also need a clear detail showing where the fluting stops.
For cabinets placed against the wall, confirm the clearance and fixing points with the joinery team. A change in cabinet dimensions after the grooves are formed can leave the two out of alignment.
Check the shadows under the intended lights
Shadows make the grooves visible. Shallow fluting can look subtle in daylight and almost disappear under broad ceiling light. Deeper grooves can look much more pronounced under wall washers. Try the proposed spacing and depth with light coming from the direction planned for the room.
Step back to the entrance, then look from where people will sit or work. The same grooves may look like a fine texture from one position and a strong pattern from another.
Give the applicator a clear reference
DecoPaint applies fluted finishes by hand. Keep the approved sample with the finish schedule and record the groove direction, spacing and starting point. Include the edge details and lighting notes so each trade can work from the same information.
Bring the wall elevation and joinery drawings to a sample review. With the fixed items marked, you can discuss how the proposed grooves will fit around them.