
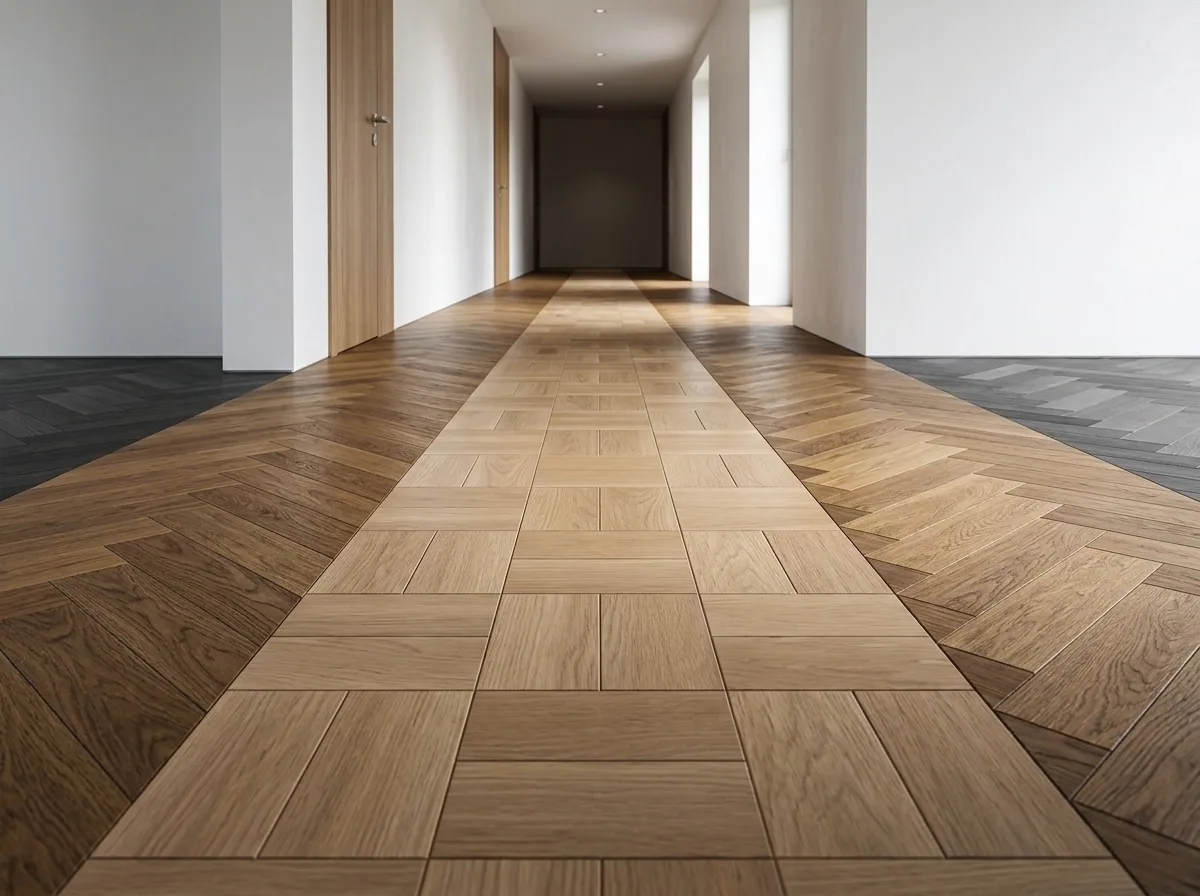
Parquet and microcement can work well in the same room, but the junction needs planning. Draw where each material will go and the finished level on both sides. In an open-plan interior, you'll see that line from several directions and may walk across it dozens of times a day.
Find a natural place for the change
A doorway, wall line or kitchen island edge can give the transition a useful starting point. Check it against the furniture layout and the routes people take through the room. A narrow strip left over between the two materials can look like an afterthought.
Add doors, fixed joinery, columns, drains and skirting returns to the floor plan. These may affect where the junction can go and whether a straight line is more practical than a curve.
Work out the finished heights
Both floors have layers beneath the surface. Allow for the base, adhesive and preparation work, as well as the thickness of the parquet and the microcement system. Both installers should measure from the same reference level. Show the intended height at the junction, nearby thresholds and doors.
Microcement is a thin cementitious coating applied over a stable, prepared base. DecoPaint describes the full system as about 2 to 3 mm thick. Use that figure when planning the junction, then have the existing floor assessed to establish what additional preparation it needs.
Agree how the joint will work
Timber and a mineral coating respond differently to their surroundings. Detail the boundary in the specification and identify any movement joints in the base before planning a continuous coating across them. Agree which installer will form the junction and at what stage.
Consider how you'll clean the edge and whether it falls beneath a door, rug or piece of furniture. A fine brass or stone separator may suit the room; a discreet straight joint may be another option. Discuss the detail alongside the rest of the floor layout.
Decide the order of installation
The microcement and parquet flooring installers need to agree who goes first, how workers will move through the space and how each completed surface will be protected. Keep cutting work and wet trades off the finished floor. Store the approved samples and a section drawing of the junction with the site finish schedule.
Bring both material samples, the floor plan and threshold sections to a DecoPaint sample review. These give the team the information needed to discuss the meeting point as well as the finishes.