
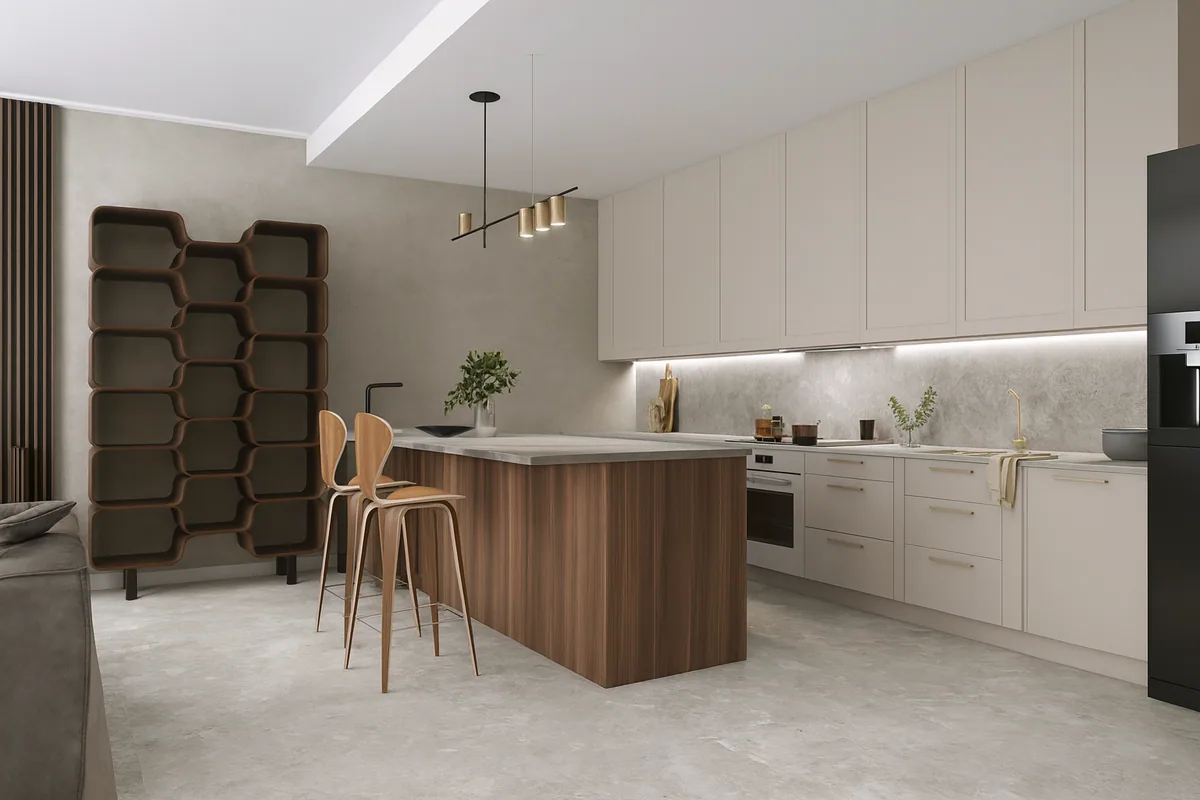
A microcement kitchen can mean a finished floor, a splashback, an island front or the surface where you prepare food. Each has a different job. Decide which parts of the kitchen you want to cover before asking an applicator to recommend a system.
DecoPaint's microcement service in Dubai includes kitchen splashbacks and islands. For a home renovation, the useful starting point is a marked kitchen drawing: where the finish goes, what is underneath it and how each surface will be used.
Begin with the splashback
The wall behind a preparation counter needs to work with sockets, taps and the underside of the wall cabinets. Mark the precise finish area on the elevation. Decide whether it stops at the cabinet line, continues to the ceiling or turns into a window reveal.
Around a hob, provide the appliance model and installation information. The kitchen designer and relevant specialist need to confirm the required clearances and suitability of the surrounding materials. A general statement about microcement does not settle the details for a particular cooking appliance.
At the sink, discuss the junction between the wall and worktop and how it will be maintained. The finish specialist should explain the proposed system and protective treatment for that location. Keep that detail with the kitchen drawings so it survives changes to the tap or worktop selection.
Treat the island face and worktop separately
An island face is often the part most visible from the living room. It can carry the mineral finish while the worktop uses another material. This is worth considering if you like the continuous appearance but have already chosen a work surface that suits your cooking habits.
Draw the stools and footrest positions. Show where feet, bags or a vacuum cleaner are likely to meet the finished face. Review a representative external corner with the applicator, since that edge will be easier to judge in a physical sample than in a distant rendering.
A worktop needs a more specific discussion. Give the applicator information about food preparation, cleaning products and exposure around the sink and hob. Ask for the selected system's guidance on those uses and the care it will require. Confirm what protection is needed when handling hot cookware or cutting food, instead of assuming the finish can be treated like the worktop you currently own.
Manufacturer Topciment's kitchen guidance distinguishes applications to walls, floors and worktops, and discusses the role of protective sealers and cleaning. It is a useful reminder to specify the whole system for the surface. It does not mean every microcement product, or every sealer, is interchangeable.
Keep the existing base in the conversation
In a retrofit, the surface underneath needs inspection before it can be accepted. Show the applicator cracked tiles, loose areas, previous repairs and any signs of damp. A small thickness of decorative finish does not remove the need to resolve a problem below it.
For an island built from boards, have the joiner and applicator agree the substrate and its detailing. Include any removable panels, access doors and changes of material. A part that must open for maintenance cannot simply disappear beneath a continuous coating.
If the kitchen floor is part of the work, check appliance removal and the transitions to adjoining rooms. The existing microcement versus tile guide discusses overlay considerations in a bathroom setting; kitchen openings and equipment still need their own measurements.
Put the work in the right order
Before application starts, settle the cutting and drilling that affect the finished areas. Agree which fittings come out, who reinstalls them and how the surface will be protected while the kitchen installation is completed.
The programme should also distinguish application from the point at which the selected system can return to its intended use. Obtain that instruction from the applicator for the actual product and site conditions. A surface that looks dry is not, by itself, evidence that every stage of curing is complete.
For a sample review, bring the cabinet finish and worktop reference along with the marked kitchen plan. Add the appliance details if the finish extends around the hob. You will be able to discuss a defined set of surfaces, with the practical questions visible beside the colour choice.