
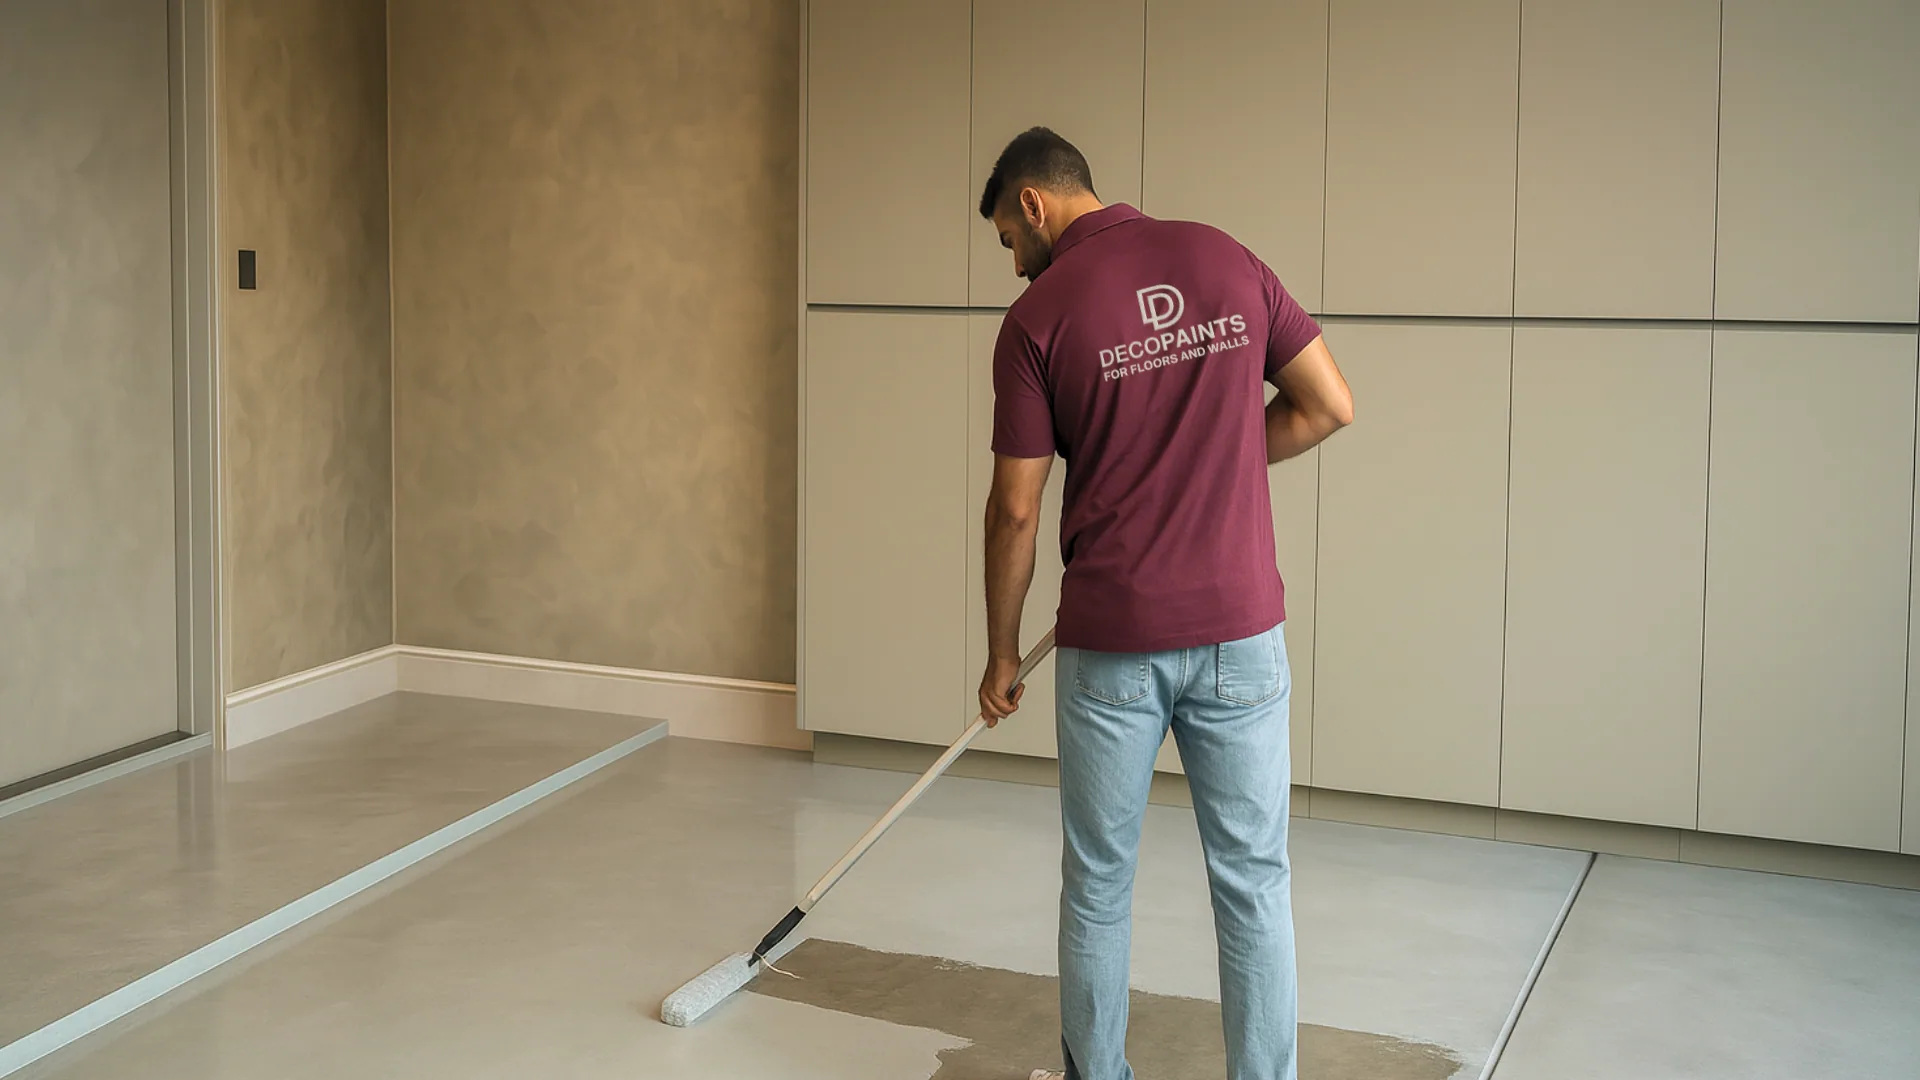
A useful microcement surface inspection checklist records what is underneath the proposed finish, what needs investigation and who will confirm that the area is ready. Give each room its own sheet. A single note saying “floor suitable” leaves too much unanswered when one area is tiled and the next has a new screed.
For a Dubai renovation, prepare the sheet with your designer or fit-out team and review it with the applicator. DecoPaint's microcement service includes substrate preparation before the decorative layers are applied. The checklist below helps organise that discussion; technical acceptance belongs with the specialists responsible for the selected system.
Start with a plan and a few clear photographs
Mark the proposed finish area on a floor plan or wall elevation. Identify the existing base in each zone: tile, screed, concrete or a board construction, for example. Where the construction is unknown, write “to be confirmed” and assign the investigation. Avoid guessing from the visible surface.
Photograph the whole area, then take closer views of defects with a location reference. Record previous leaks or repairs if you know about them. Include the intended use of the surface, especially where it will receive water or frequent cleaning. A bathroom floor and a dry bedroom wall need their own review.
Check the base before discussing colour
Manufacturer Topciment's substrate preparation guidance calls for a clean, stable base and says irregularities need correction before application. It identifies loose tiles and powdery mortar as unsuitable conditions requiring treatment. Moisture must be investigated, and the base needs sufficient curing.
Use those principles to prepare questions for the site visit. Ask the applicator to identify any loose or weak areas, contamination and unevenness, then describe the preparation proposed for each. Keep the accepted substrate condition separate from the colour sample approval. Liking a sample does not confirm that the room is ready for it.
If the proposal involves covering existing tiles, DecoPaint's microcement versus tile guide gives the wider retrofit context. Your inspection sheet should still record the condition of the tiles in this particular room.
Keep the inspection sheet short enough to use on site
Give each of the following entries space for a finding, an action and a person responsible:
- Existing base: Record the material, previous coatings and any unknown construction. Identify where further opening-up or testing is proposed.
- Surface condition: Mark loose areas, dusty or weak patches, visible contamination and previous repairs. Ask what preparation is required and how the prepared area will be checked.
- Moisture: Note stains, damp patches and the history of leaks. Request the test method, test locations, results and acceptance criteria for the actual system. Record who will investigate the source of any unresolved moisture.
- Cracks and joints: Plot visible cracks and existing joints. Ask the responsible specialist to assess them and agree the detail before work proceeds; do not assume a decorative layer will resolve movement below it.
- Levels and edges: Ask the team to check uneven areas, door clearances and transitions to adjoining finishes. For a wet area, request confirmation of the proposed falls and drain detail.
- Fittings and access: Identify thresholds, pipe penetrations, removable panels and fixtures that affect the finished surface. Agree which items must be removed or completed first.
- Readiness for application: Record outstanding repairs, the intended preparation system and the site conditions to be checked before starting. Include protection from following trades.
Date the sheet and attach the photographs to the same room reference. If an item needs a return visit, leave it open until the agreed evidence is available. A blank box should not be read as acceptance.
Record test results with their method
A moisture reading needs context. Ask the tester to identify the instrument or method, the substrate tested and where the reading was taken. The applicator should confirm how the result compares with the requirements of the proposed system. Avoid copying a percentage from an unrelated product sheet onto every job.
Topciment also notes that temperature, relative humidity and ventilation affect mortar drying and curing. Ask how site conditions will be checked for the specified products, including after any repairs. An agreed start date should remain subject to the required substrate checks.
Close the actions before releasing the area
After repairs or preparation, have the responsible team review the affected locations again. Keep the findings with the proposed product information and detail drawings. For a wet room, use DecoPaint's wet-room detailing guide alongside the inspection sheet so waterproofing and junction decisions remain visible.
Send DecoPaint the marked plan, photographs and any available test or repair records when arranging a substrate assessment. Flag the unanswered questions. The applicator can then review the actual base and explain what needs to happen before microcement application.